I was busy (and thrilled) for a few days last week making a cupcake tower/stand, cupcake topper and paper garland for Makiko's, our dearest niece, 1st birthday party. I must say this was quite a challenge for me because I have never made any party decoration before...ever! I wanted to make these DIYs almost perfect, if not perfect, as these are some of the things that a lot of people will be seeing at the party.
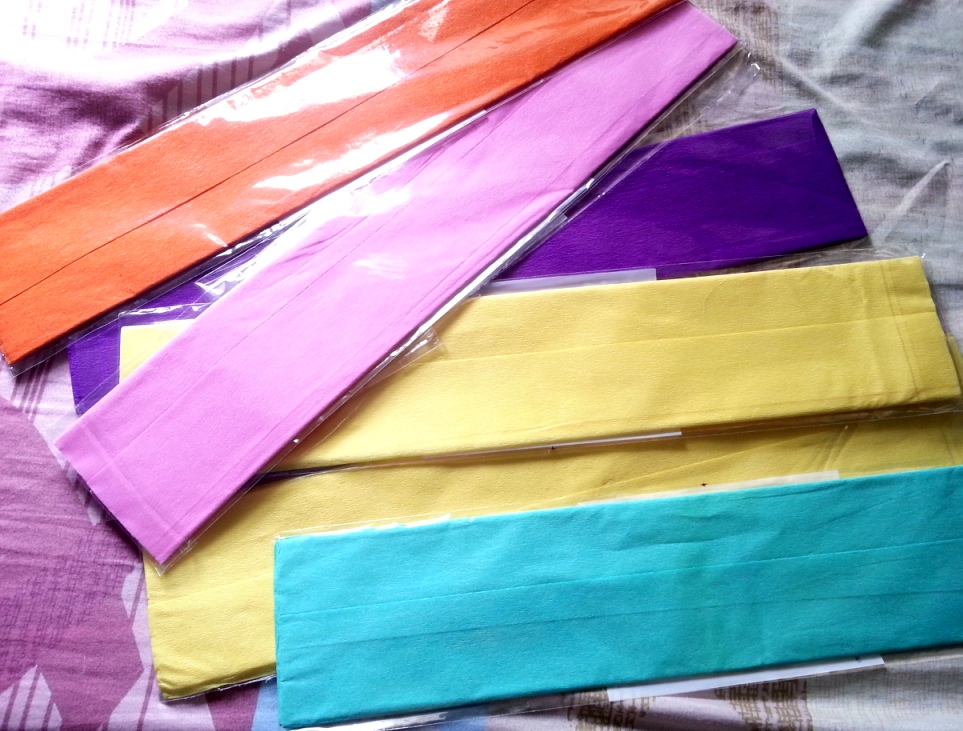
Let's start with the paper garland. Here, I used crepe papers in various colors, scissors and double-sided tape. I wanted to make the garlands colorful, so I chose these colors:
Let's start with the paper garland. Here, I used crepe papers in various colors, scissors and double-sided tape. I wanted to make the garlands colorful, so I chose these colors:
I didn't intend to create the usual paper garland that is straightly hung on the wall; I want it ruffled! Most of the people who made ruffled garlands (be they fabric or paper) utilized a sewing machine to create that "ruffled/pleated effect", so I thought this was going to be a one, big problem for me. After a few minutes of brainstorming on my own, I've decided to use a double-sided tape to create pleats. Sorry I wasn't able to ask Anton to take a picture of me forming the ruffles, but to give you an idea, what I did was I folded the crepe papers continuously until I came up with numerous small pleats/ruffles, and here's the outcome:
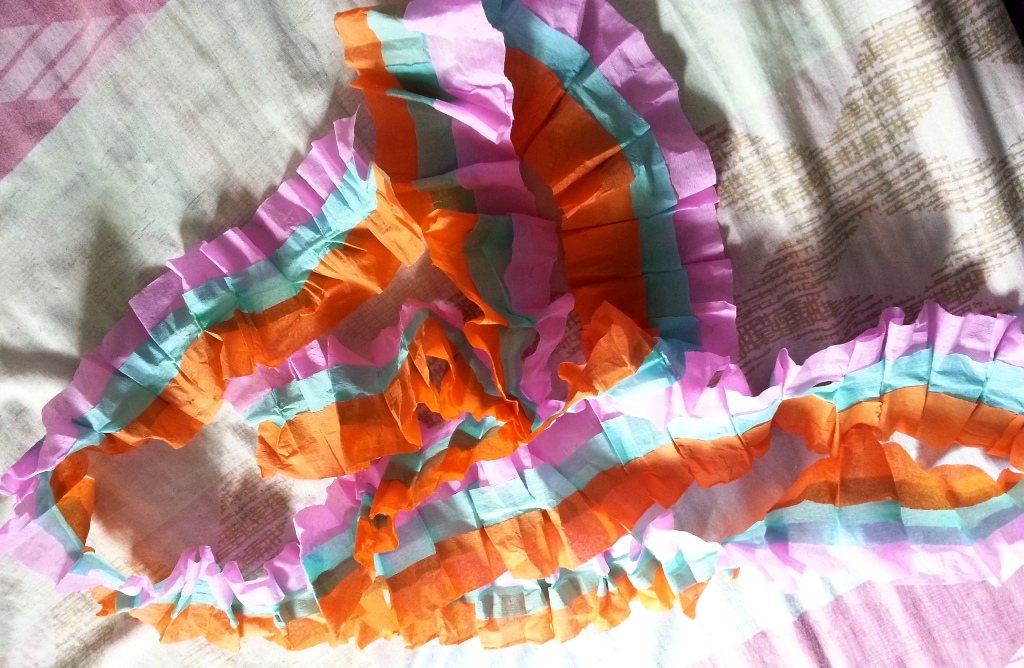
I am so hoping that you got the gist, people. :)
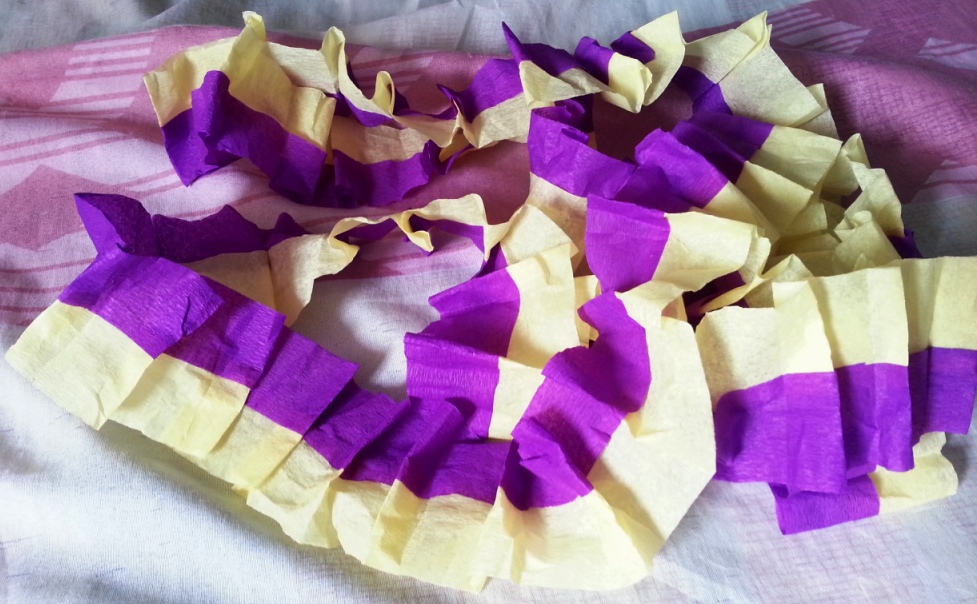
This is very time consuming compared to when a sewing machine is used, so if you want to create something like this, I strongly suggest that you give yourself ample time to get a couple of them done. I tried to use glue to keep those ruffles in place, but it wasn't sticky enough, so this is another reason for me to love double-sided tape even more! :D
Here's how the garlands looked like when they were hung:
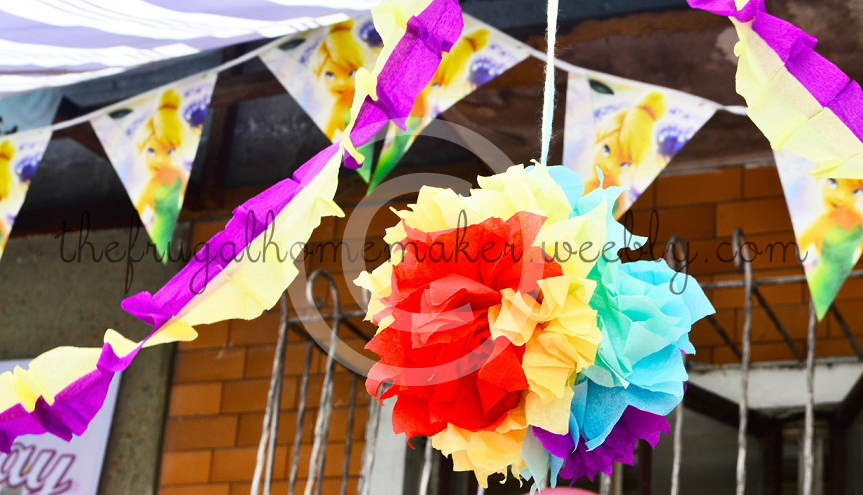
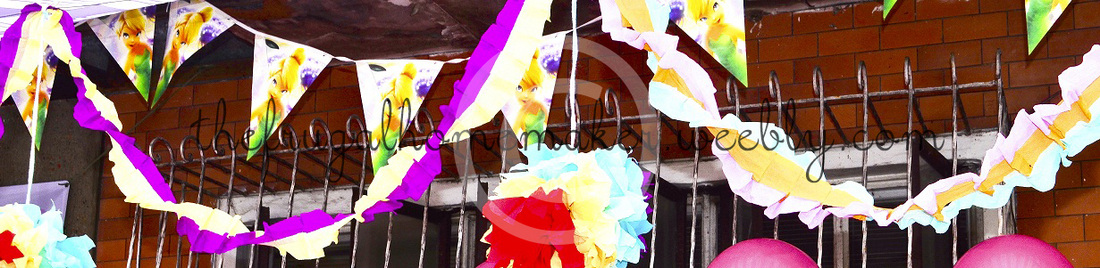
That beautiful pompom, by the way, wasn't created by yours truly; it was made by Anton's eldest sister who happens to be very creative as well. :)
Moving on to the next one, which is the cupcake tower. Anton and I gave 30 pieces of cupcakes for the little princess as a birthday present, and since we both find cupcake tower kits and ready-made stands a bit expensive, we decided to create one ourselves. I definitely won't take the full credit here, as hubby dearest was the one who did most of the work to get this thing done.
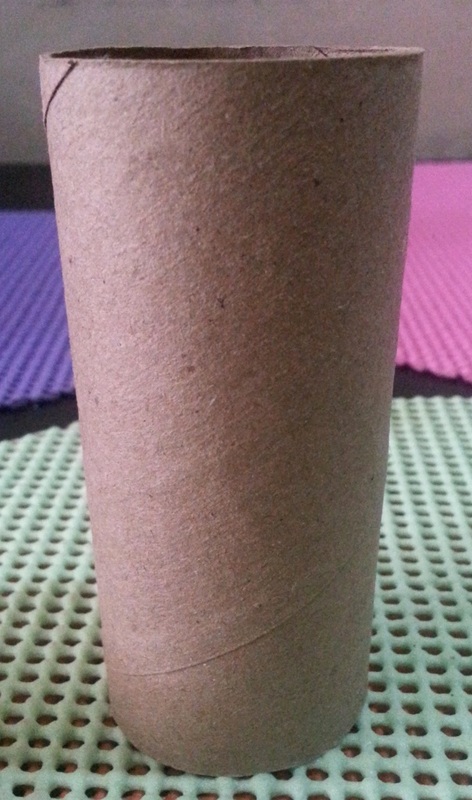
We used square-shaped styrofoams and a few scrapbook papers to cover it. As for the stand that will support the tower itself, we used toilet paper tubes and aluminum foil to cover them, and of course, this will never be a cupcake tower without the scissors and the ever-useful double-sided tape.
Moving on to the next one, which is the cupcake tower. Anton and I gave 30 pieces of cupcakes for the little princess as a birthday present, and since we both find cupcake tower kits and ready-made stands a bit expensive, we decided to create one ourselves. I definitely won't take the full credit here, as hubby dearest was the one who did most of the work to get this thing done.
We used square-shaped styrofoams and a few scrapbook papers to cover it. As for the stand that will support the tower itself, we used toilet paper tubes and aluminum foil to cover them, and of course, this will never be a cupcake tower without the scissors and the ever-useful double-sided tape.
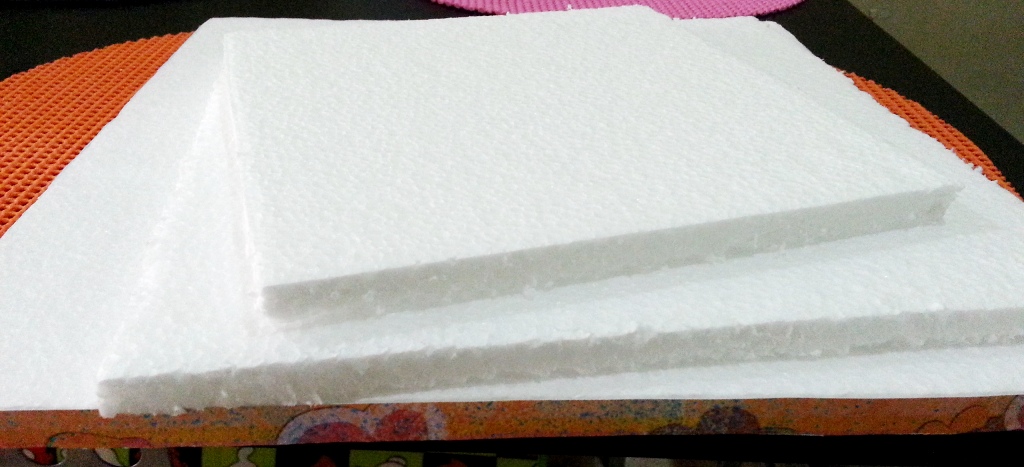
Anton cut the styrofoams in 3 different sizes before covering them entirely with scrapbook papers. As you can see, the edges of the biggest styrofoam already has a cover, and obviously, I did the same thing with the other 2. I then covered the top portion with scrapbook papers before Anton slightly, yet firmly embedded the foil-covered toilet paper tubes underneath the 1st and 2nd layer of the styrofoam.
Have a look at the final outcome:
Have a look at the final outcome:

Please note that since we used toilet paper tubes as support, this wasn't as sturdy as we expected it to be, so if you want something that's hard wearing, you can use something else except toilet paper tubes. We had no issues with the styrofoam itself; the only problem we had was when somebody meddled with the tubes, which made the cupcake tower a bit more challenging. Nevertheless, it still looks cute and presentable, and we were able to put all the cupcakes in each layer without collapsing.
One more tip: measure how tall your cupcakes are going to be before you make a cupcake stand. In our case, we didn't have any clue that the icings on top are about an inch tall, plus we still have cupcake toppers that will be placed above the icing. We're still lucky, though, that the tower we made was adjustable. As first-time makers of cupcake stand, our creation, I must say, is good, and it did serve its purpose well!
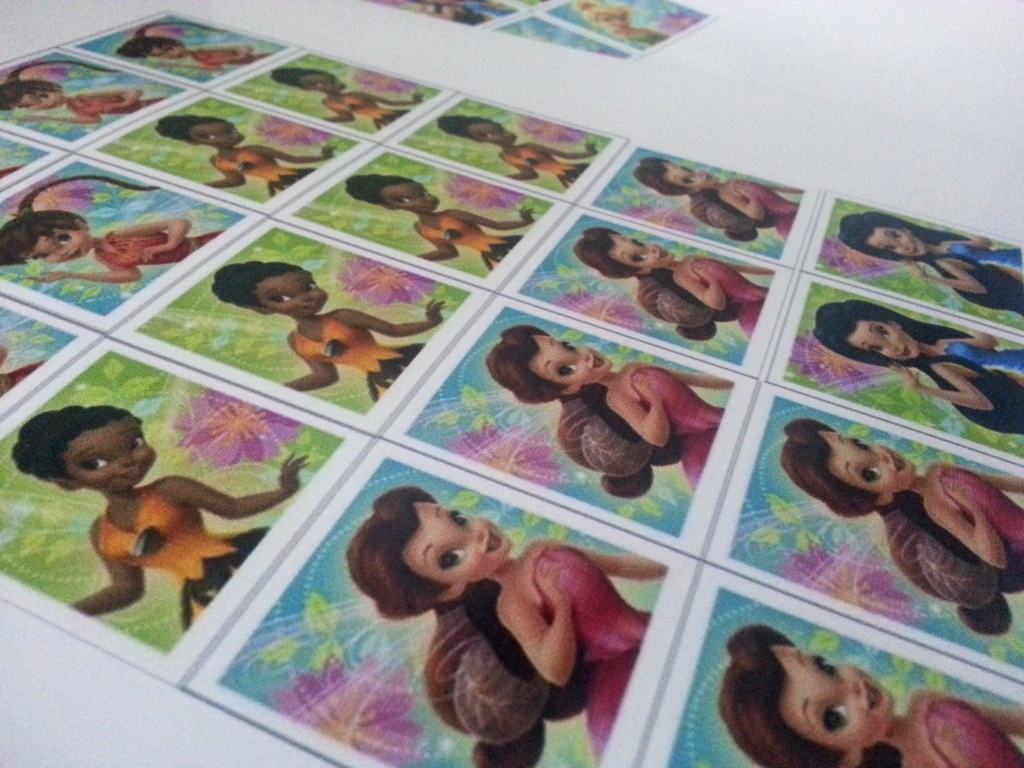
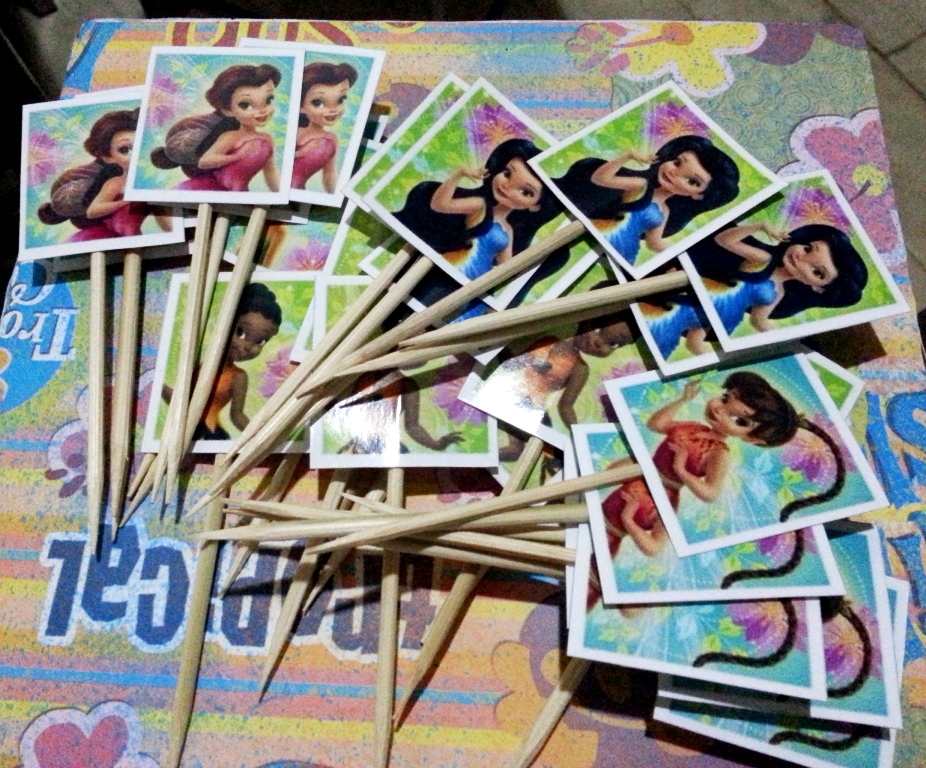
Finally, I want to show you the simple cupcake toppers I made. It was a Tinkerbell-themed birthday party, so I decided to make cupcake toppers that have pictures of Tinkerbell and her newly found fairy friends. So sorry for the poor-quality photos; my mobile phone's camera isn't that good.
One more tip: measure how tall your cupcakes are going to be before you make a cupcake stand. In our case, we didn't have any clue that the icings on top are about an inch tall, plus we still have cupcake toppers that will be placed above the icing. We're still lucky, though, that the tower we made was adjustable. As first-time makers of cupcake stand, our creation, I must say, is good, and it did serve its purpose well!
Finally, I want to show you the simple cupcake toppers I made. It was a Tinkerbell-themed birthday party, so I decided to make cupcake toppers that have pictures of Tinkerbell and her newly found fairy friends. So sorry for the poor-quality photos; my mobile phone's camera isn't that good.
We also used BBQ sticks that Anton trimmed one by one to reduce the size.
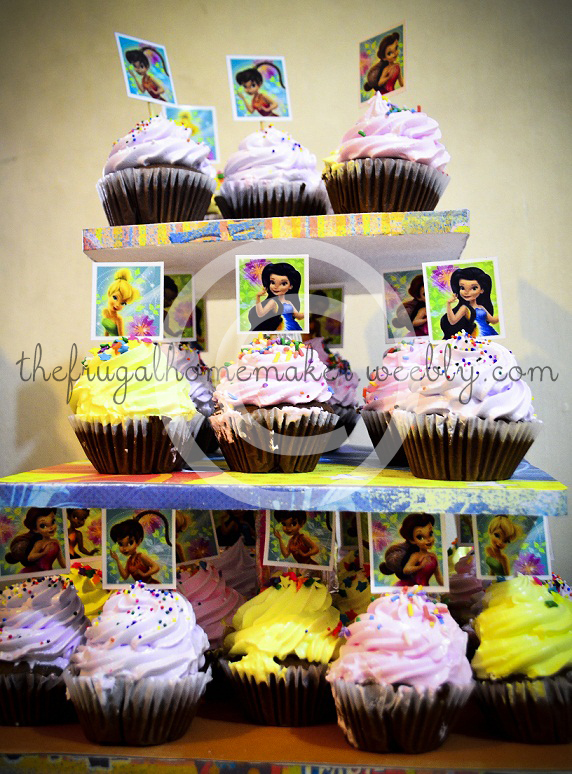
That particular area where the toppers are placed is the topmost layer of the cupcake stand, by the way.
Once more, here's the photo of the cupcake tower and toppers, and we're proud that we were able to accomplish all of these despite the lack of skills and experience.
Once more, here's the photo of the cupcake tower and toppers, and we're proud that we were able to accomplish all of these despite the lack of skills and experience.
Since majority of what you see here are DIY stuff, we've actually been asked by a few people if we also baked the cupcakes, so in case you're wondering, too, the answer is no; we didn't bake the cupcakes. :)
Xoxo,
Xoxo,


 RSS Feed